
 Making large pots seems is a challenge that all potters attempt. In one sense, throwing a large pot is evidence of accomplished skill because it shows that a potter can maneuver the technical challenges to handling a lot of clay.
After I had been throwing for a few years, I got obsessed with making a ‘grapefruit bowl’, i.e. a bowl large enough to contain a week’s worth of grapefruit and worthy enough to occupy the place of honor on my kitchen table. It took quite a while and resulted in several bad bowls.
Now, I am able to make larger pots but they aren’t gigantic like some potters make. In fact, most of the things I make on a regular basis are less than 5 lbs. However, I like large platters and big bowls (8-10 lbs) and I do make them occasionally. As I learned to throw larger pots, I realized there are two main obstacles to making bigger pots:
Sufficiency: This is the easier of the two problems to solve. Add more clay. As beginners, we usually start with 1-2 lbs to learn centering and pulling. But, you can’t make huge bowls with 2 lbs of clay so we need to start with a larger amount. This can be scary because it challenges the kinesthetic muscle memory that we have been developing. And, it can be frustrating because it makes us feel like beginners as we re-face challenges of centering and pulling a larger amount of clay. The best advice I was given was increase the amount of clay incrementally by 1/4 – 1/2 lb. Keep practicing and increasing the clay until you make the size that you are satisfied with.
Efficiency: This is the more difficult challenge. When I started throwing 3lb bowls, they weren’t much larger than my 2lb bowls. This was because I didn’t use the clay efficiently I lost a lot trying to center; too much clay was left in the bottom of the pot; and, I threw the pot off center which prevented me from get any more out of the clay. The truth is, there is really no victory in throwing a 2 lb bowl with 3 lbs of clay. The resolution to the efficiency challenge is practice (and more practice). Don’t add clay until you throw a lesser amount well; after-all, the challenges that you face making a small bowl become harder to manage with increased clay.
Here are some great exercises that helped me increase the size of my pots.
Triple Pots: Weigh three balls of equal amounts of clay within your throwing range (ex. three 2 lb. balls). Pull each to maximum height within three pulls. It is likely that your third pot will be your largest. You should be moving a lot of clay into the body of your pot in the initial pulls.
Incremental Pots: Weigh three balls of clay adding a 1/2 lb to each ball (ex. 1 lb, 1.5 lb, and 2 lb). Pull each to maximum height within three pulls. If you don’t see a variation in size, practice again and pay attention to where you are leaving the clay.
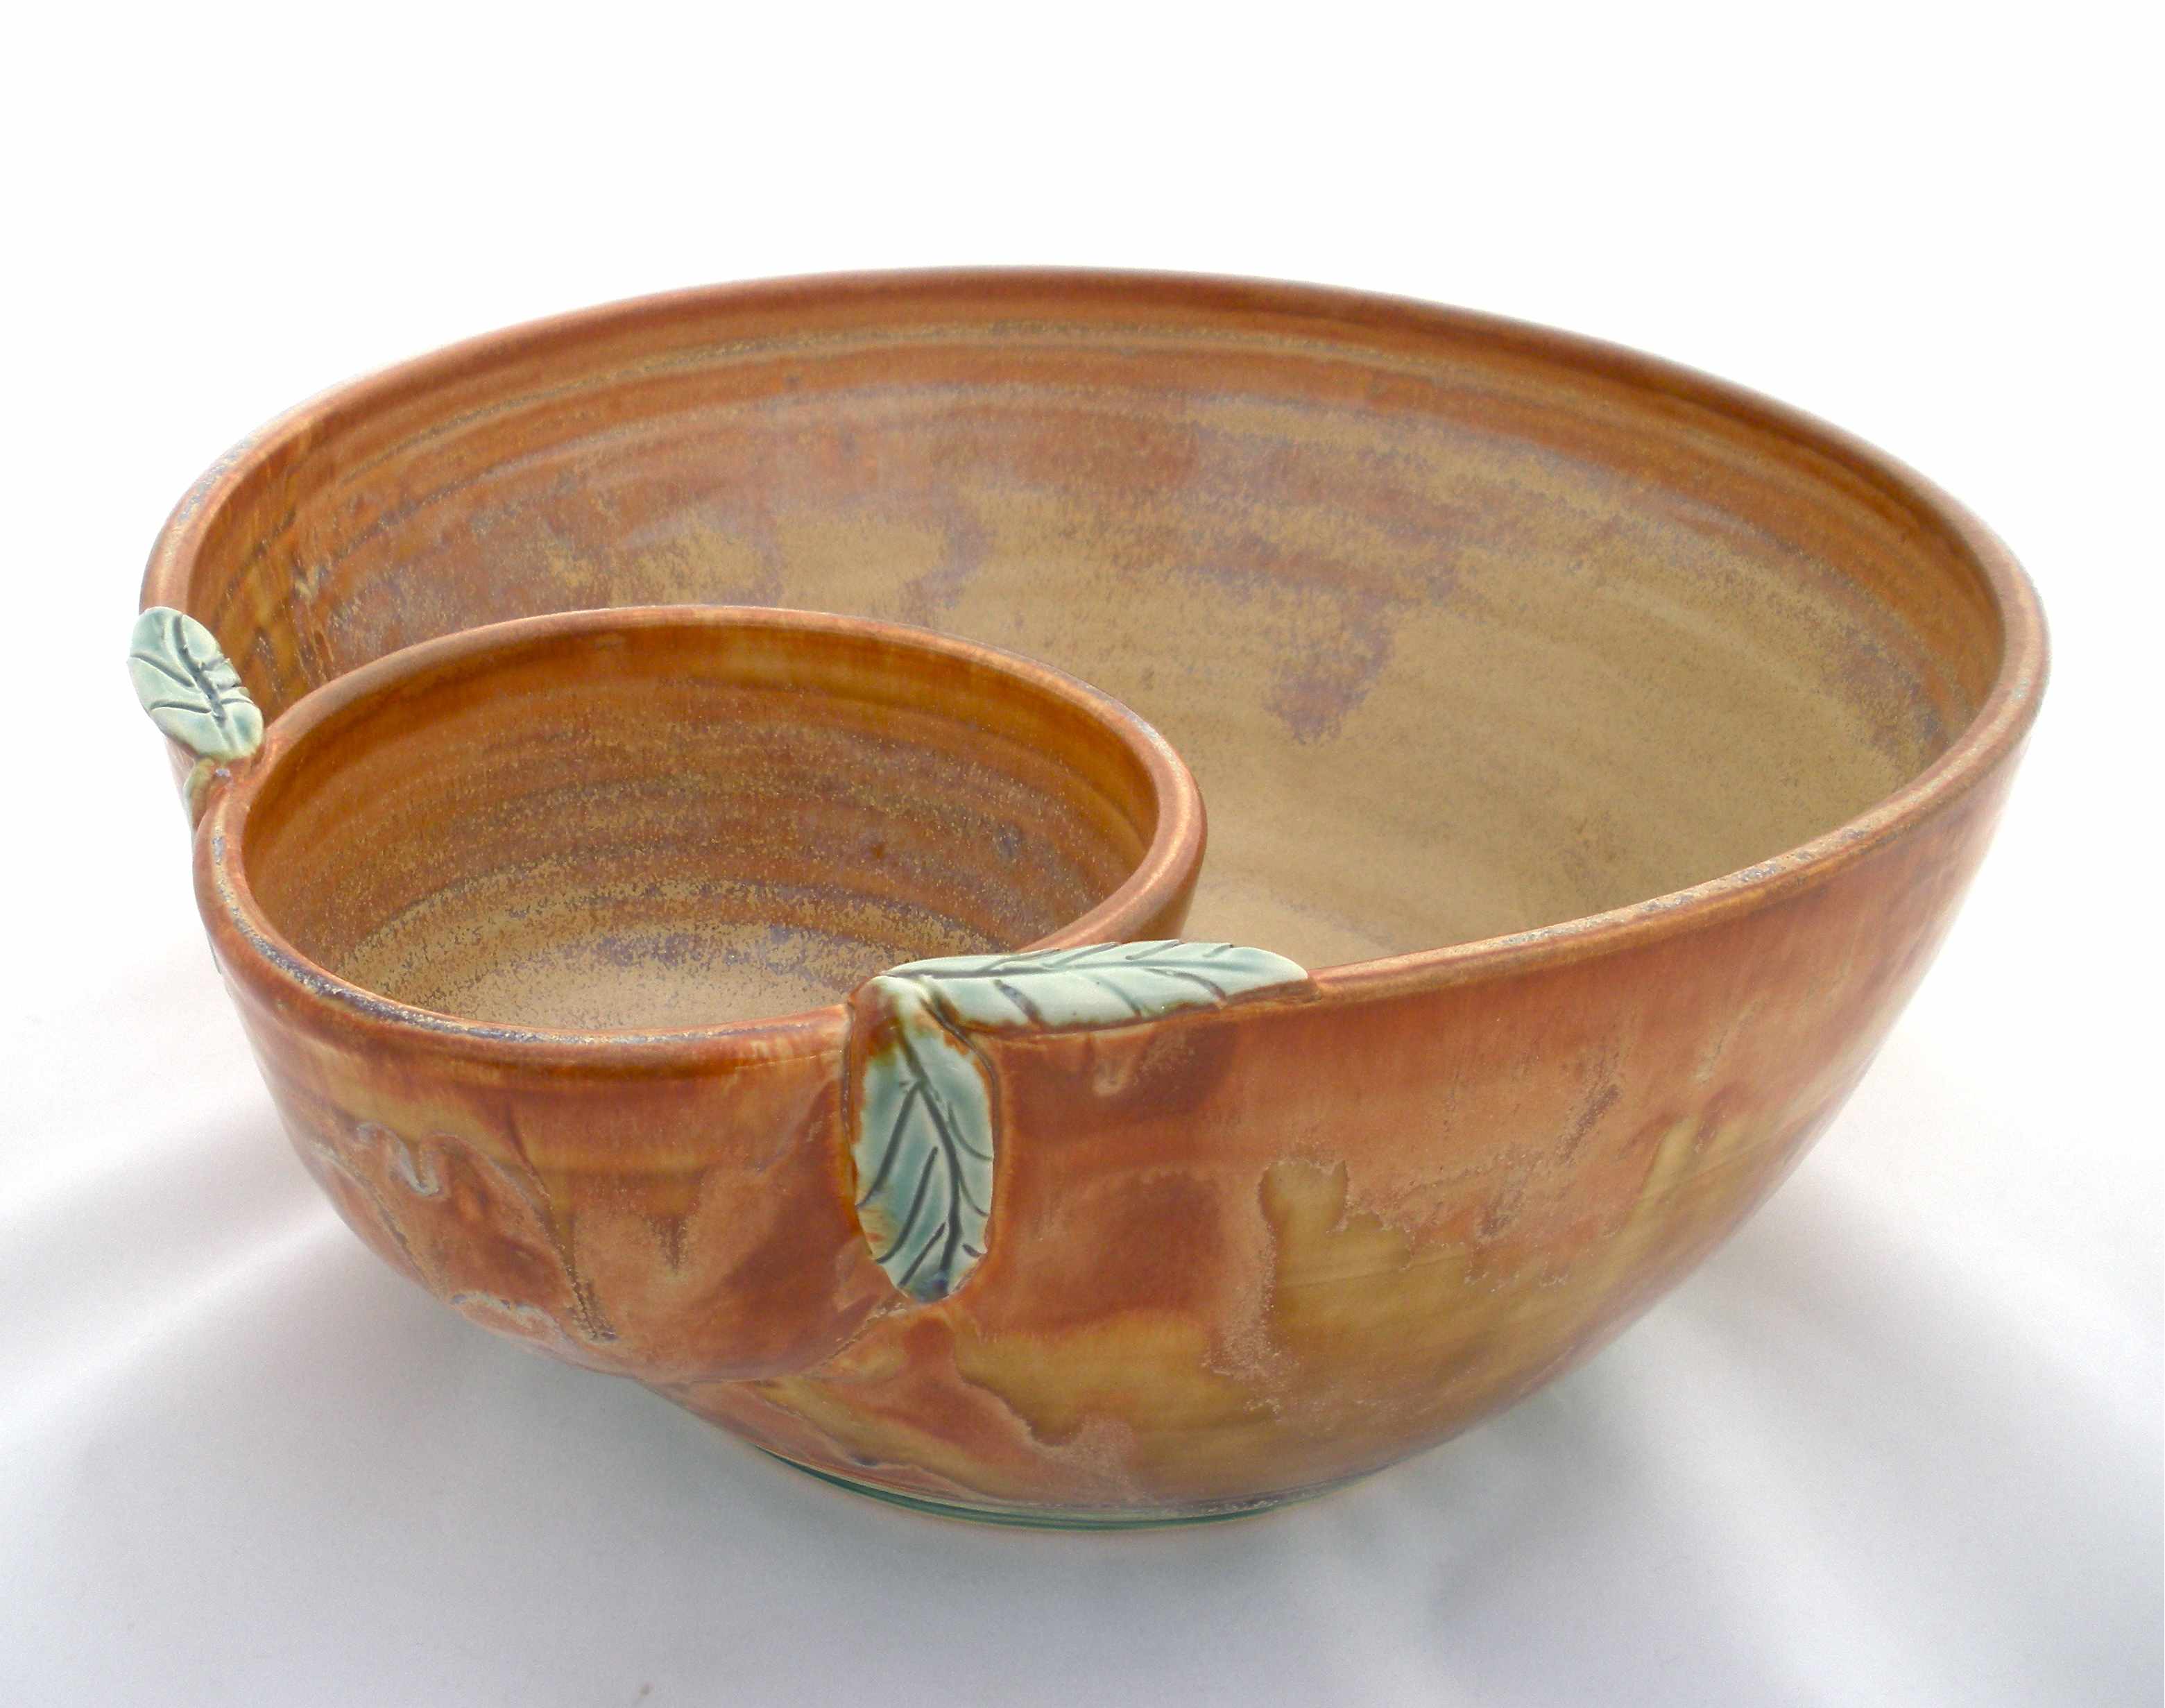
Salvage Pots: After you have gained mastery over a volume of clay and you increase the amount, it is likely that your first attempt will result in a wonkey pot. If you are reluctant to collapse the pot and re-wedge the clay, use this to cultivate a creative solution – carve it, alter the rim, make a chip and dip, oval/square the bowl, add embellishments, etc. By attempting to salvage the wonkey pot, you may stumble on an idea that will help you develop your own clay voice.
Great suggestions. Heading to the wedging table to give them a try. I must ask…..what is that fabulous glaze or glaze combo? It is luscious!!!
Kat in Georgia
Hi Kat in Georgia! Thank you for commenting and I wish you the best as you endeavor to make larger pots. One benefit of re-wedging clay is softer clay which helps me when I throw large pots (in fact, almost all my pots over 8 lbs are thrown with recycled clay because they are easier to throw with softer clay). As for the glaze – it is Coyote’s Red Gold. It is a lovely and dynamic glaze that expresses differently on various clay bodies. It is one of my favorites. I think the green is also from Coyote (Peacock); but I have used several green celedons and they all look good so I can’t be sure. Yours, Rae